

This is the third in a four-part series on getting started with WordPress. In the previous article, I explained how you could literally go from zero-to-live-site in about a total of 10-15 odd minutes through the hosting arm of WordPress at WordPress.com. In this article, I’ll be explaining the just-ever-so-slightly more involved process of setting up a computer to directly host a WordPress site by itself, without an internet connection.
The obvious question that likely comes to mind for some of you at this point is: “Why would I even want or need to do this if I can get so easily setup at WordPress”? Below are some possible answers:
- You want to experiment with WordPress but don’t have consistent access to the internet
- Your moreso particular about your “Brand Management” and don’t want a site live until its ready
- Remember, once you’re through the 5-step walk through at WordPress.com, you will have a site that is *Live*, even if its unknown to the masses right at that time
- You have a site that is live and in production, but you want a “Development” version to test changes and updates on
Working With MAMP
Now that we’ve briefly gone over the “Why”, let’s get into the “How”. To start, you will need to configure your computer to run as a web server. Remember, something needs to serve the WordPress webpage assets you will be setting up shortly. One of the more popular programs to do this is MAMP (https://www.mamp.info/en):

Its an acronym that stand for: “MyApache, MySQL, PHP”. These are the essentials needed for any computer to serve web content. This particular program originally started as a dedicated OS X product, but its popularity instigated its expanded development for windows use. This program is being shown for this walk through as it will be the best candidate for you to try regardless of whether you’re using a version Windows or OS X
To those of you proclaiming: “What about us in Linux land”? You’ll want to check out XAMPP (https://www.apachefriends.org/index.html):

I’ve used this one before and it actually has variants for Windows, OS X, and Linux. While its very well made, its interface and options are a bit more tricky to get around. Those of you who managed to steer your way through a Linux install and setup to the point of everyday use should have no problems finding your way around XAMPP. For the rest of the audience, we’ll be sticking with MAMP for the remainder of this article.
Setting Up Your Server
So, for starters, you head over to https://www.mamp.info/en/ and upon first glance, the homepage gives you the impression that the software needs to be purchased for usage:

If you download the and run the ‘Free’ installer, the second window will have an option asking about the MAMP Pro trial:
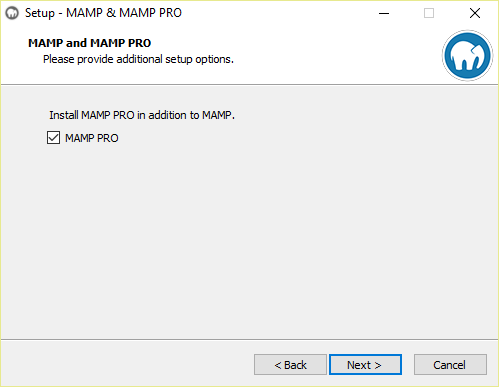
Simply uncheck this and follow the rest of the prompts. When you’re done, you’ll have the home version of MAMP setup on your system that you can use for your own development purchases:

When you run the program, it will turn your server “on” and greet you with the following, very minimalist, interface:
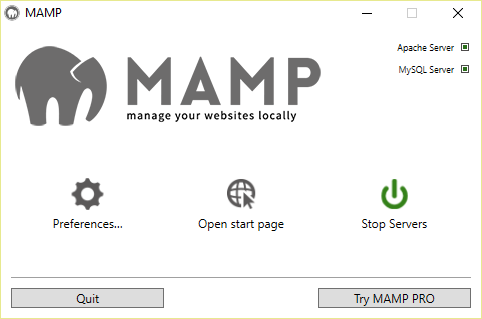
From here, click on “Preferences” and then look at the “Web Server” tag:
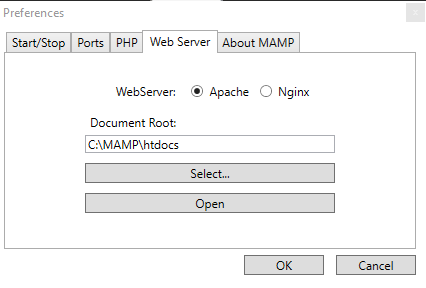
The default “Document Root” is where you will drop in the raw WordPress site files later on. If you’d rather these files be someplace else, this is the time to change the folder.
Just to see, definitively, that your local web server is running properly, go back to the main MAMP window and select: “Open start page”. If you’re greeted with the following page:

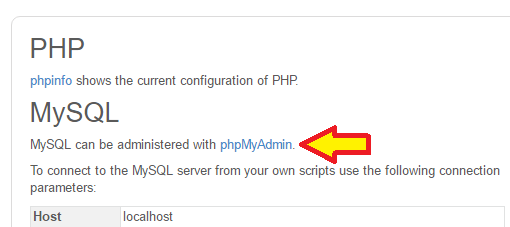
Then your setup went as planned. At this point, make note of the connection information under the “MySQL” section as you will need that later.
Now, before you can move on to the actual download and setup of the WordPress software, you will need to make one minor tweak to your new server software in the manner of adding a database to it for said software to work with.
On the localhost homepage, click on the link phpMyAdmin:
On the page that follows, click on the menu tab that says “Databases”:

In the window that follows, at the very top, there will be a section that says “Create Databases”. The WordPress installer will assume that the name of the database it needs to connect to is called: wordpress. If you’re fine with that default, then just enter that. If you’d prefer to call it something else, put that name in, and take note of it for later:

As for the window right next to it that will say ‘collation’, click the window tab and scroll down until you reach the selection: utf8_general_ci. After that, click ‘Create’, and you will have done all that you need to do with the PHP admin backend for the purposes of this setup.
The WordPress Install
Here is where we get to the “WordPress” part of this “WordPress Installation”.
For this, you will need a copy of the latest software version. Earlier, it was mentioned that one reason you may have for going through all of this is due to the possibility that you have intermittent, at best, internet service at home. This step doesn’t need to be completed from your computer of choice.
Just goto WordPress.org, somewhere and somehow, and click the “Download” button for the latest version of their software:

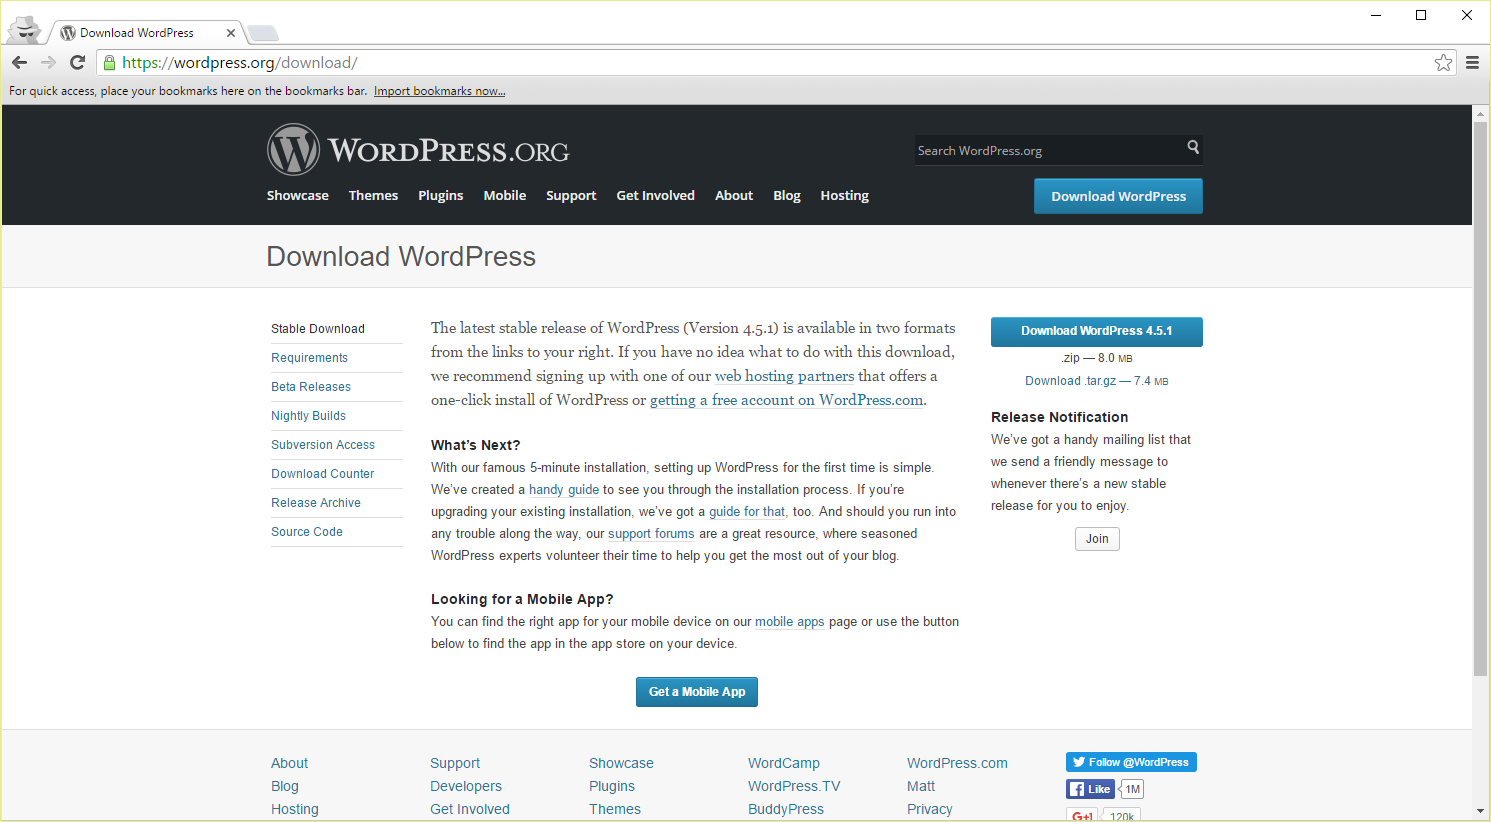
It will be an archive that you will need to extract. Once you get it to your desktop and do that, you will have a folder who’s contents, at some level, will contain the following:
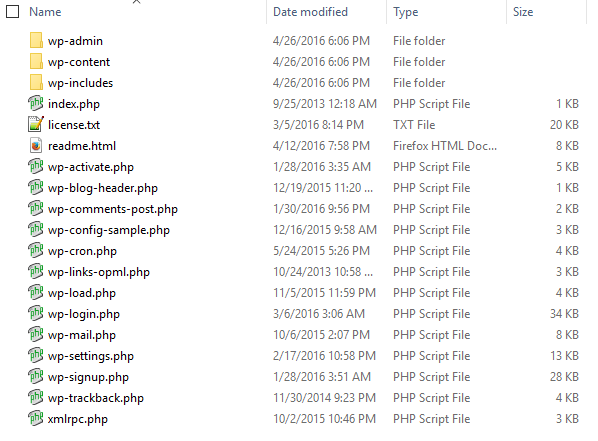
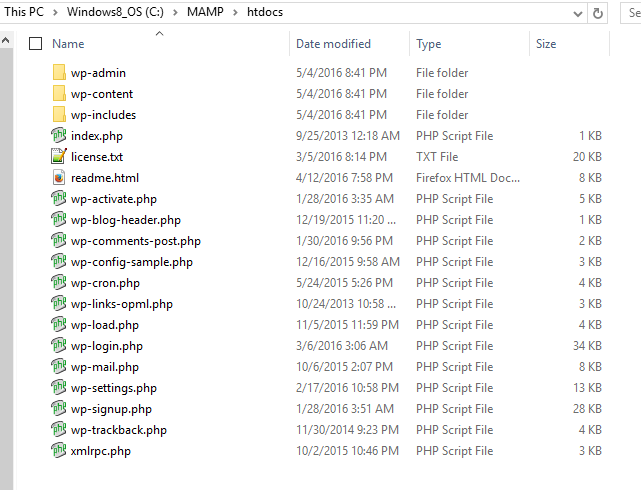
Now you need to check back to where you “told” MAMP that your website root would be. IF you left it at the default, then its C:/MAMP/htdocs. You will take all of the files in the window above and copy (or move) them into that folder:
Once that’s done, bring up your web browser of choice and try: http://localhost. If you see the following:
Then you are now in the home stretch of having your local WordPress site setup.
Before you dive in, make sure you have handy the following information that you took note of from the local MAMP homepage earlier:
- The Database Host Name – localhost
- The Username / Password – root / root
- The Database Name – wordpress
- Unless you came up with a different name when you were creating the database earlier
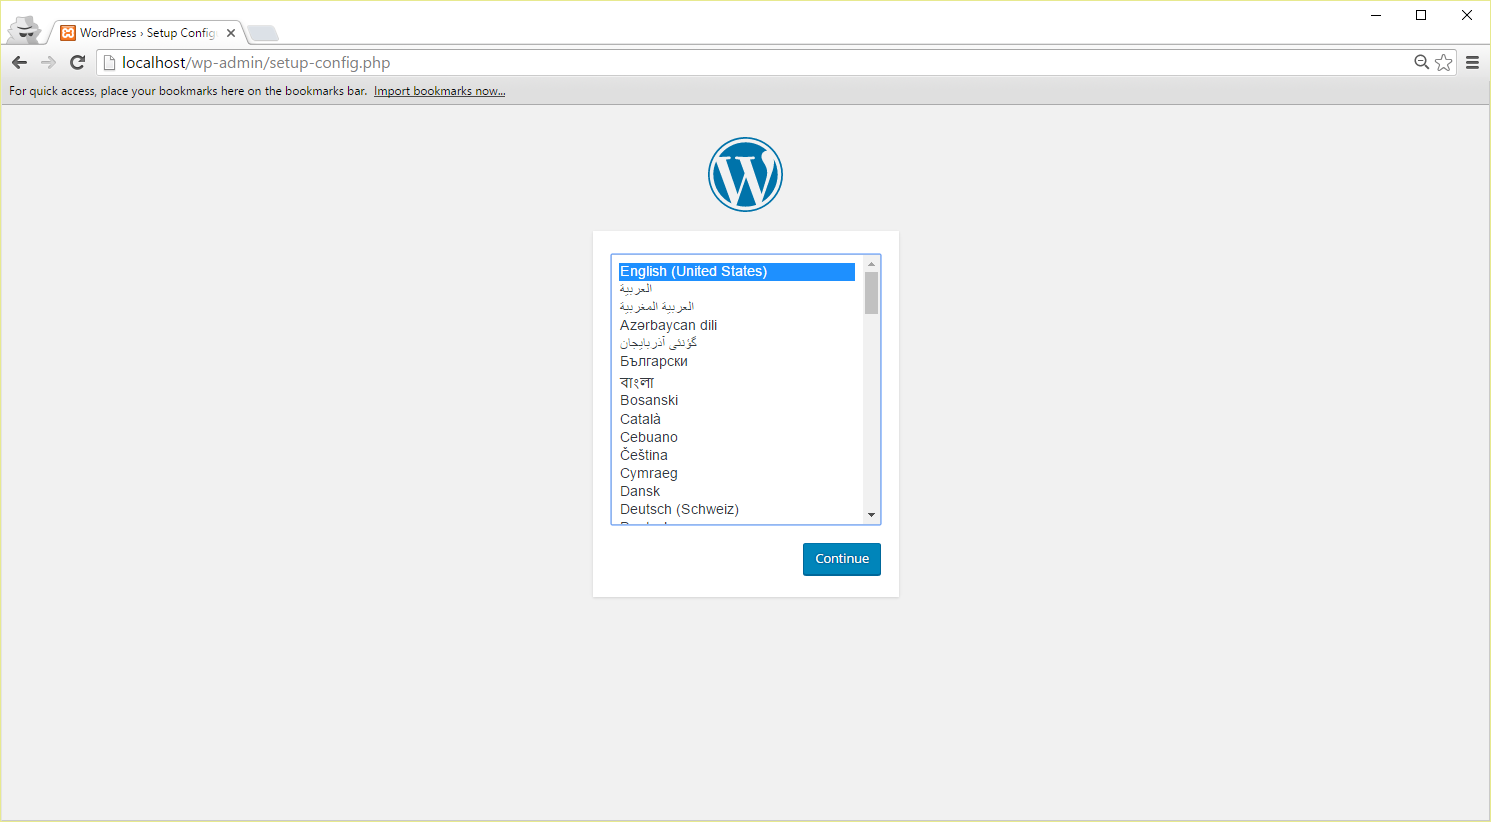
The window below, about two setup screens in, is where you will put all of this information in at (the “Table Prefix” part you can leave alone):

Once you do that and click ‘Submit’, the program will spin its wheels a bit and you should get the following:

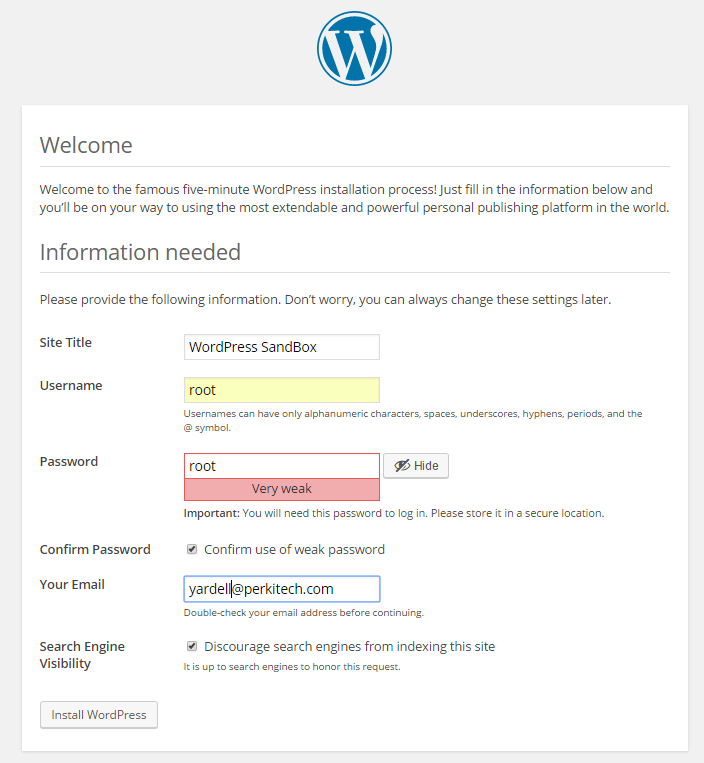
Afterwards, you will just need to personalize some of the information about your new website. Mind you, none of this is being “set in stone” anywhere so don’t agonize over it too much:
If you’re then greeted, afterwards, with this page:
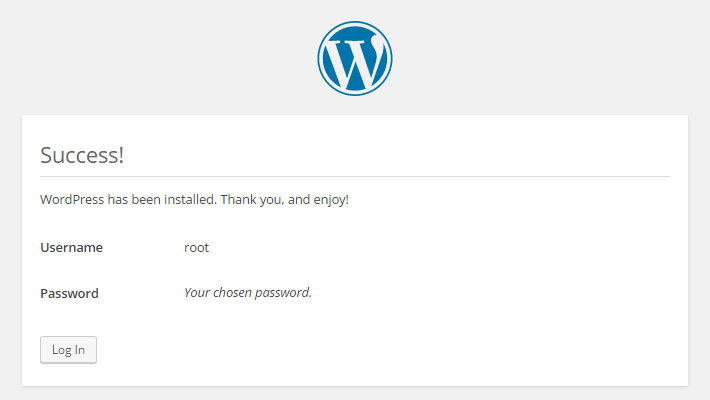
Then your server/page setup trials are over.
If you checkout http://localhost one last time, you should see this (or something similar):

This is your new, local, WordPress site.
Kicking The Tires
The admin section of your site can be found at http://localhost/wp-admin.
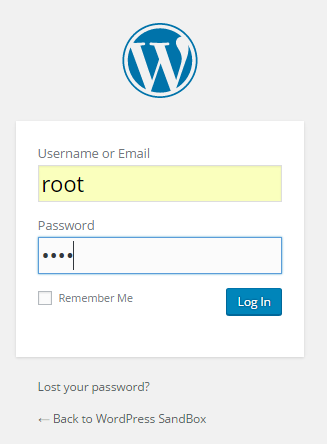
Here you will use the login and password you created in the final step of the WordPress setup. That will get you to this window:
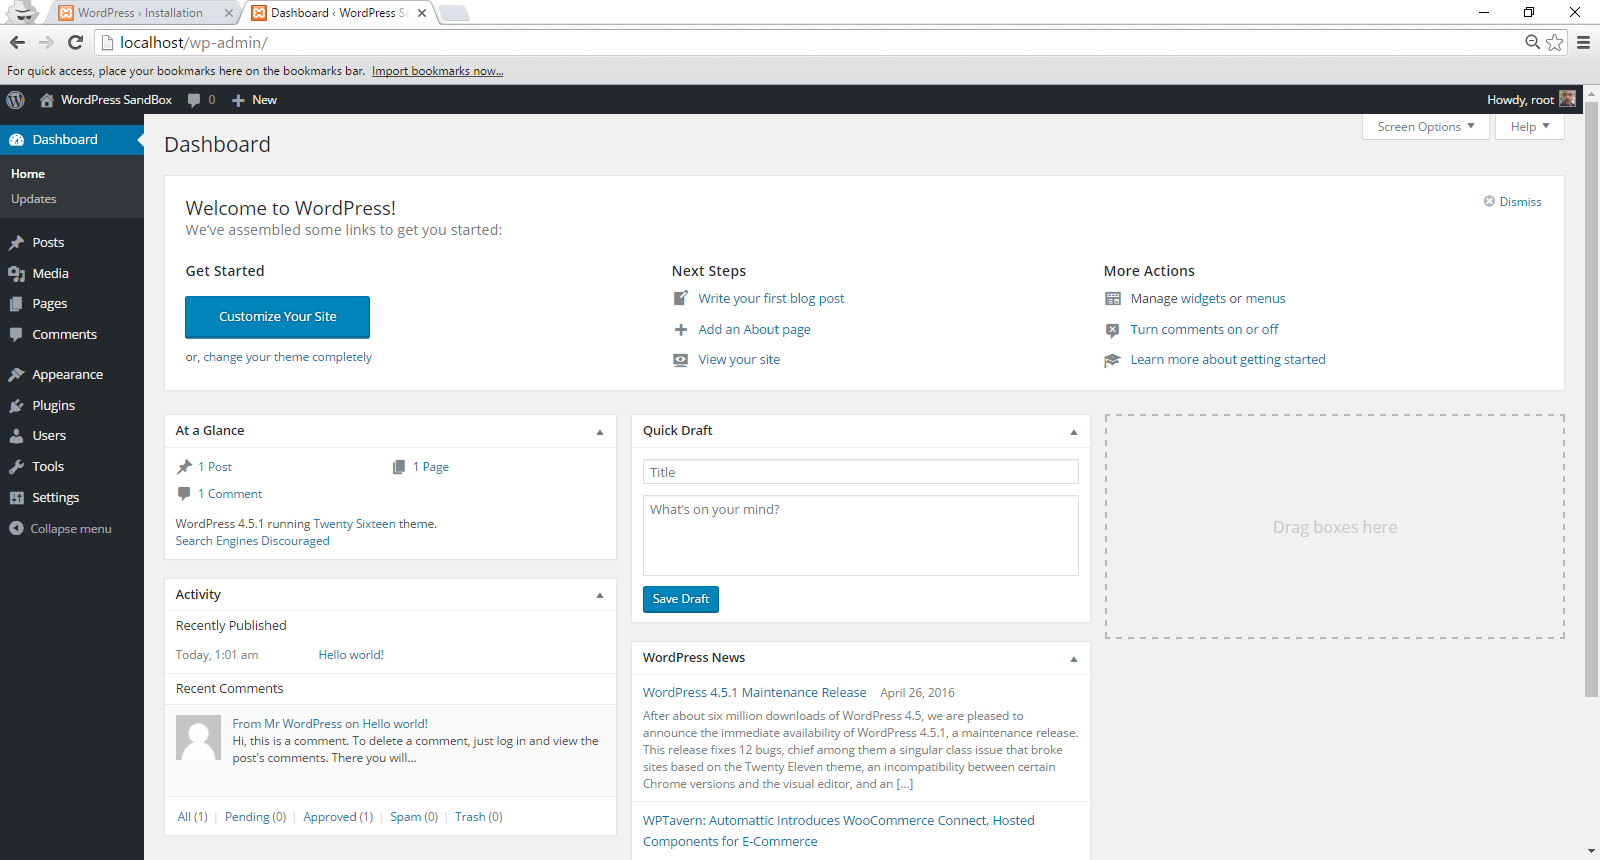
From here you can add pages, posts, menu items, and the like. Many WP pages live and die by their choice of combinations in Plugins. Even though the site itself is local, whenever your “server” has a network connection, you can drop in on this section and start finding things to play around with there.
The “TL;DR”
By this point, you should have your head well wrapped around how to get a site going by some means. In the final part of this series, we’ll be looking at the next-to-last frontier of getting a WordPress site up with a full-on hosting company. Ill tell you what to look for, what to look out for, and name drop some of the bigger players in the market.
Cheers.
P.S.: The LAST “Frontier”, as far as this matter would go, would be setting up and configuring your own, fully functional and live, web server and side-stepping the hosting companies altogether. However, that could be easily an entire post series in and of itself.